How to Make a DIY Pet First Aid Kit on a Budget?
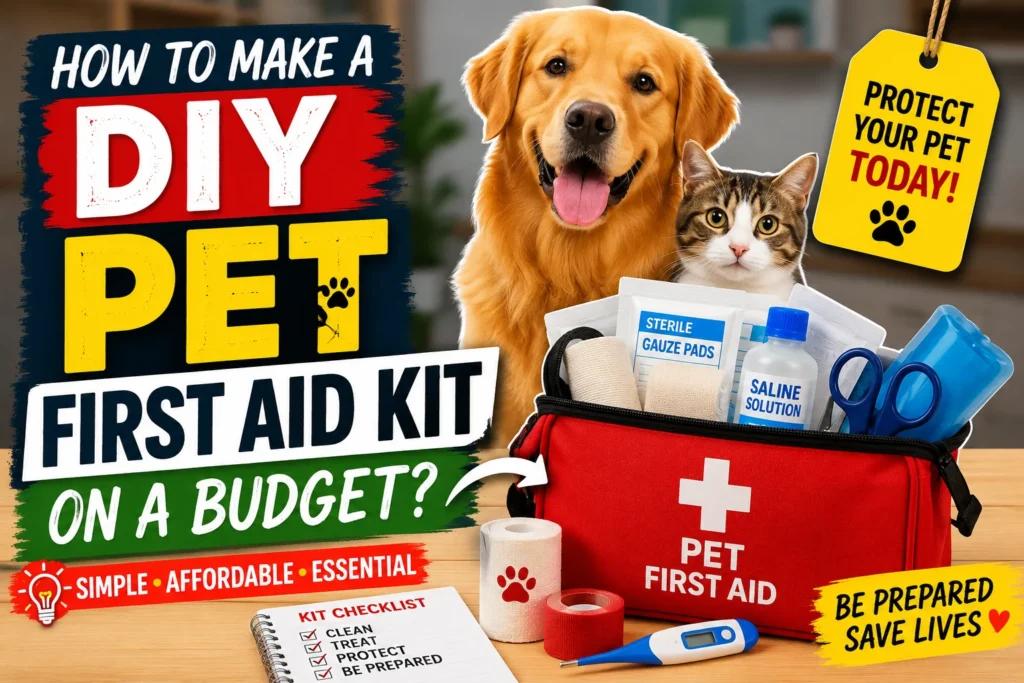
How to Make a DIY Pet First Aid Kit on a Budget?. Having an emergency plan in place for your pet is an excellent way to ensure their safety and health. A stocked pet first aid kit will enable you to tend to small injuries while waiting to see your veterinarian. The good news is that you won’t need to break the bank to have one of these crucial items available at your home.
Learn how to assemble a budget-friendly DIY pet first aid kit that can save you cash and your pet.
We discuss what every dog, cat, bunny or small animal needs to have readily on hand.
Why Every Pet Owner Needs a First Aid Kit
Accidents happen unexpectedly. Your pet may suffer from:
- Minor cuts and scrapes
- Broken nails
- Bee stings
- Small burns
- Tick bites
- Splinters
- Mild bleeding
- Paw injuries
Having a DIY first aid kit will give you ability to administer preliminary care until you are able to get to the veterinarian. First aid should not be considered a substitute for veterinary care; it is just the initial stage of aiding your pet.
How to Make a DIY Pet First Aid Kit on a Budget?
Building Your Own Emergency Pet Kit Pros:
- You save a lot more money compared to pre-assembled kits.
- You customize the contents to your pet’s particular needs.
- You can replace any of the items as they expire.
- You can add any prescribed medications your veterinarian may recommend.
Have more than one kit, perhaps one at home and one in your car. The average pet owner can put together a decent kit for under $20 to $40.
Essential Supplies for a Budget Pet First Aid Kit
1. Gauze Pads
Use sterile gauze pads to:
- Cover wounds
- Stop bleeding
- Protect cuts
Buy multi-packs from pharmacies to save money.
2. Self-Adhesive Bandage Wrap
Elastic veterinary wrap; it sticks to itself but not to your pet’s fur. Don’t wrap your pet too tightly, as it can cut off circulation to your pet’s leg or foot.
3. Medical Tape
This tape can secure gauze dressing.
You can select an antibacterial tape or, preferably, a hypoallergenic tape.
4. Antiseptic Solution
If you have a wound that needs to be disinfected, use a pet-appropriate product, such as:
- Chlorhexidine
- Dilute povidone-iodine
Don’t use alcohol or hydrogen peroxide, unless your vet prescribes it.
5. Digital Thermometer
Used to record your pet’s temperature. Since each animal has a unique average temperature range, consult with your vet to learn what is considered normal.
6. Disposable Gloves
Disposable Gloves Put on these before dressing your pet’s wounds to prevent the spread of infection.
7. Blunt-End Scissors
Useful for:
- Cutting bandages
- Trimming hair around wounds
- Opening packages safely
8. Tweezers
Tweezers help remove:
- Splinters
- Ticks
- Small debris
Use fine-tip tweezers for better precision.
9. Saline Solution
Sterile saline works well for flushing:
- Eyes
- Minor wounds
- Dirt from injuries
10. Cotton Balls and Cotton Swabs
Helpful for cleaning around wounds but avoid leaving cotton fibers inside open injuries.
11. Ice Pack
Reusable cold packs reduce:
- Swelling
- Pain
- Minor sprains
Wrap the ice pack in a towel before applying it to your pet.
12. Emergency Contact Information
Write down:
- Your veterinarian’s number
- Nearest animal emergency center
- Animal poison control helpline. Save this laminated or place in a waterproof bag.
13. Flashlight
A small flashlight is essential for night time emergencies, and for power outages.
14. Muzzle
All dogs, even nice dogs, bite when injured.
Use a well-fitting soft muzzle.
Never muzzle an animal that is vomiting or having trouble breathing.
15. Small Blanket or Towel
Useful for:
- Keeping pets warm
- Carrying injured animals
- Controlling bleeding with gentle pressure
Optional Items
Depending on your pet, you may also include:
- Tick remover tool
- Nail clippers
- Styptic powder (for bleeding nails)
- Soft syringe for giving water
- Emergency leash
- Extra collar
- Pet-safe eye wash
- Small notebook and pen
Items You Should Never Include
Avoid adding medications unless approved by your veterinarian.
Do not include:
- Human painkillers
- Ibuprofen
- Acetaminophen (paracetamol)
- Aspirin without veterinary advice
- Prescription antibiotics
- Expired medications
Many human medicines are toxic to pets.
Also Check: What to Do If Your Dog Eats a Grape or Raisin Immediately?
How to Organize Your DIY Pet First Aid Kit
This could be a plastic container from a dollar store or any waterproof container. Label all the little baggies. Group contents into baggies such as:
wound supplies, bandages, tools, etc.
Emergency information/numbers for family. Medication, if necessary. It’s easy to have to have things readily available in times of need.
Where to Keep Your Pet First Aid Kit
Store one kit:
- At home
- In your car
- With camping equipment
- In your travel bag
Ensure all family members know where the kit is located.
Budget Tips to Save Money
Everything doesn’t need to come from the pet shop. You can buy the basics on the cheap by:
- Using generic first-aid kit items
- Buying in bulk
- Repurposing an old plastic storage bin
- Take advantage of sale prices at drug stores
- Research prices online before buying
- Replacing only what has expired rather than an entire new kit.
When to Visit a Veterinarian Immediately
First aid is only temporary. Seek veterinary care immediately if your pet has:
- Heavy bleeding
- Broken bones
- Difficulty breathing
- Seizures
- Poisoning
- Deep wounds
- Severe burns
- Loss of consciousness
- Persistent vomiting
- Heatstroke symptoms
Never delay professional treatment for serious injuries.
Common Mistakes Pet Owners Make
Don’t make these mistake:
- Use a human medication
- Overwrap bandage
- Let wounds go untreated
- Use unclean equipment
- Forgetting expired items
- Waiting too long for a veterinarian
Frequently Asked Questions (FAQs)
What is should I put in a pet first aid kit?
Aside from bandages and gauze, your kit should include an antiseptic solution, gloves, pair of scissors, tweezers, saline solution, thermometer, flashlight, as well as emergency veterinarian and clinic phone numbers.
How much does it cost to create my own pet first aid kit?
As most pet owners already have some supplies at home, you should be able to create your own effective pet first aid kit for about $20- $40.
Can I use my personal first aid kit on my pet?
Your personal kit items can be used for your pet, but always avoid administering human medications to pets without checking with your veterinarian.
When should I check the kit?
Clean and restock the kit 6 to 12 times a year.
Do I need a traveling pet first aid kit?
A travel first aid kit is perfect for a holiday or your regular travels with your dog or cat.
Is hydrogen peroxide good to use on wounds?
The peroxide can damage tissue, so use saline water or an antiseptic wound cleaning product instead.
Should I carry a muzzle in a pet first aid kit?
Soft muzzle in dogs help to stop pain or pain related anxiety in the pet, and prevent other animals and yourself being hurt by painful bites. Muzzle may be a bad thing in animals who have breathing problems and havevomit.
What kind of container works well for a DIY pet first aid kit?
We recommend using an airtight plastic box that has separate compartments for organizing, but a sturdy bin can also be used as long as each item or group of items is labeled.
Do I need to put prescription medications in the pet first aid kit?
Any ongoing medications that your veterinarian has approved you to use on your pet may be included in the kit, provided they are not expired.
Is a DIY kit sufficient for an emergency?
A first-aid kit will be handy for temporary care and can then be taken to your vet so that you may have the injury attended to properly by your doctor.